
Vegetables
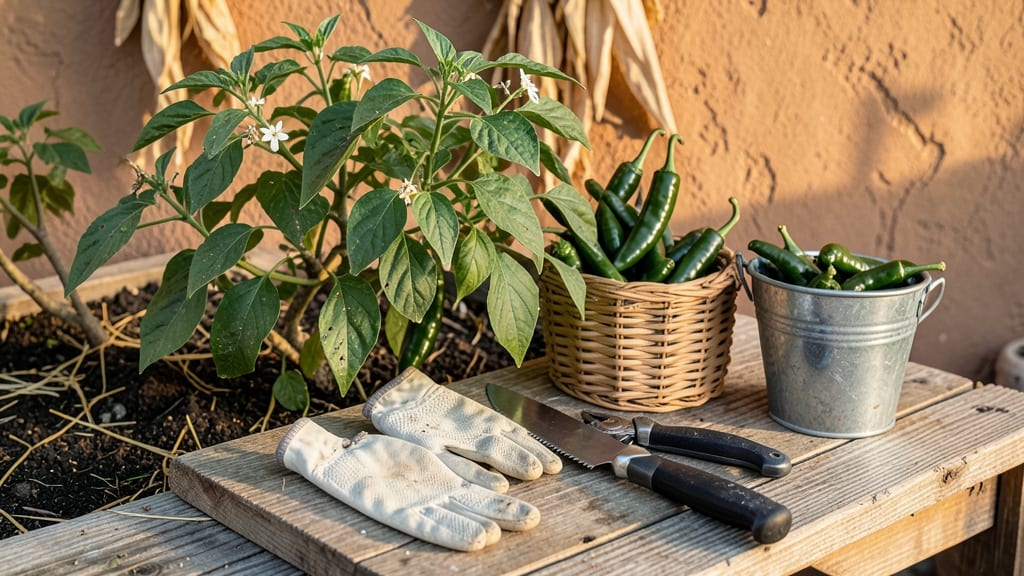
The Hatch chile harvest season arrives when pods crackle with heat and color shifts from green to red 🌶️—but timing it wrong means sacrificing flavor or losing your crop to overripening.
Picture this: you’ve nurtured your plants all summer, and now the moment of truth is here. That first red Hatch chile isn’t just a pretty sight—it’s a flavor explosion waiting to happen.
But rush the harvest, and you’ll end up with wrinkled, bitter pods. Wait too long, and you might miss the peak sweetness entirely.
In this guide, I’ll walk you through the color shifts that signal ripeness, the crack test that tells you when to pick, and how to adjust for your region—whether you’re in New Mexico’s Zone 6b-8a or a cooler climate. No more guessing, just perfectly timed harvests every season.
You’ll also learn how to store your extras (yes, there will be extras) and avoid the three biggest harvest mistakes that turn great chiles into sad, moldy leftovers. Let’s get started.

Hatch chile pod color shift: what each stage means for flavor & harvest
Watching your Hatch chile pods transform from bright green to deep red isn’t just a visual spectacle—it’s a flavor and heat evolution that determines when to harvest. Each color stage signals a biochemical change in sugars, capsaicin, and moisture, directly impacting taste and texture.
Understanding these shifts helps you time harvests for peak quality, whether you’re growing Hatch Green, Red Hatch, or Chile Colorado varieties.
The journey from green to red in Hatch chiles is driven by photosynthesis and ethylene gas production. As pods mature, chlorophyll breaks down, revealing carotenoids and anthocyanins—the pigments responsible for red and purple hues.
This isn’t just a color change; it’s a sweetness and heat shift that gardeners must track closely to avoid missing the ideal harvest window.
Green pods are high in chlorophyll and moisture, offering a milder, grassier flavor with minimal heat. They’re often harvested early for pickled or fresh eating, but their sweetness peaks later as sugars develop. Meanwhile, red pods concentrate sugars and capsaicin, delivering that iconic Hatch chile sweetness and moderate heat that chefs crave for roasting and stuffing.
Here’s how each color stage affects flavor, heat, and harvest timing:
The green-to-red transition is your cue to monitor pod firmness and glossiness. A ripe Hatch chile will have a slightly waxy skin and a deep, consistent color—no green stems or streaks.
This stage is critical because overripe pods (those with soft spots or cracks) lose flavor and texture, while underripe pods lack the sweetness and heat you’re growing them for.
Scientifically, the color shift is tied to ethylene production, a plant hormone that triggers ripening. As ethylene levels rise, cell walls weaken, sugars concentrate, and capsaicin (the compound responsible for heat) becomes more potent.
This is why red Hatch chiles pack a sweeter punch than their green counterparts—up to 30% more sugar content in some varieties.
If you’re growing Hatch Green chiles for early harvests, aim to pick them when they’re 4-6 inches long and still firm. For Red Hatch, wait until the pods are deep red and glossy, with a brown stem end.
The purple or black varieties, like Chile Colorado, take the longest to ripen but deliver the most complex flavor profiles and highest heat levels.
Pro tip: Harvest in the morning when pods are cool and crisp. Use clean pruning shears to avoid damaging the
The crack test timeline: when to harvest for maximum heat & shelf life
Harvesting Hatch chiles at the perfect moment ensures maximum heat and shelf life. The crack test is your secret weapon—it reveals whether pods are ready to pick or still maturing.
But timing matters: harvest too early, and you lose flavor; too late, and you risk overripe chiles that spoil faster. For example, Hatch Green varieties crack differently than Red or Chile Colorado types, so understanding these cues is key.
Early-season cracks (before 75 days) signal immature pods that need more time on the plant. Late-season cracks, especially near 90 days, mean it’s time to act fast—these chiles are at peak ripeness.
I’ve learned the hard way that ignoring these cracks can lead to moldy or wrinkled chiles, so I now check my plants weekly during harvest season (July–September in most USDA Zone 6-8 regions).
- 🌱 45–60 days: Tiny cracks appear—pods are too small for harvest; wait for 4-inch length.
- 🌿 60–75 days: Hatch Green varieties crack moderately—harvest when firm and glossy.
- 🌶️ 75–90 days: Red/Purple chiles crack deeply—pick immediately for peak heat.
- 🔥 90+ days: Severe cracks + wrinkled skin = overripe; use for immediate cooking or drying.
For Hatch Green chiles, focus on firmness and size—they’re best harvested at 60–75 days when pods are 4–6 inches long and cracks are shallow. In contrast, Red Hatch varieties develop deeper cracks by 75–90 days, signaling a sweet-spicy balance.
I once missed the window on my Chile Colorado plants, and the pods turned rubbery—now I set reminders for weekly inspections during peak season.
To test doneness without risking overripe chiles, gently press the pod near the stem. If it resists pressure and feels slightly glossy, it’s ready. Avoid harvesting when pods feel soft or leathery, as this indicates overmaturity.
Pro tip: Harvest early morning when temperatures are coolest to preserve freshness and heat levels.
Storage is just as critical as harvest timing. Fresh Hatch chiles last 1–2 weeks in the fridge, but drying or freezing extends shelf life to 6–12 months. I always leave a few pods on the plant past their prime to dry naturally—these become ancho or chile pasilla powders.
For immediate use, blanch and freeze pods whole or slice them for salsas and stews.
Remember: crack patterns vary by variety, so observe your plants closely. Hatch Green chiles crack earlier than Red or Purple types, so adjust your harvest schedule accordingly. With practice, you’ll master the crack test timeline and enjoy peak-flavor chiles all season long. 🌶️