
How To
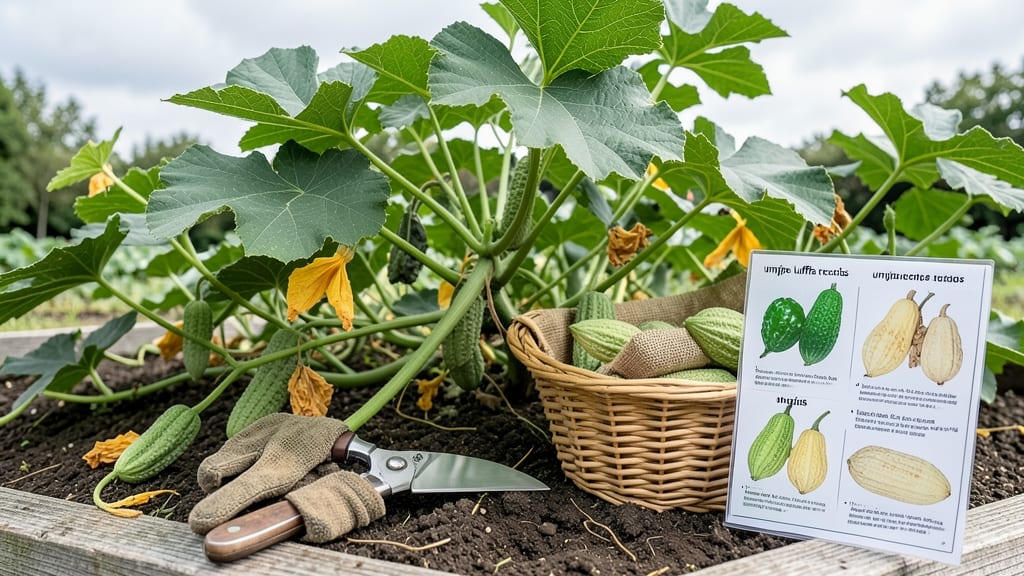
Harvesting luffa at the right time turns this fast-growing vine into a soft, spongy treasure—or a tough, unusable mess if you wait too long.
Picture this: your 🍈 luffa vines are thriving in USDA Zone 6a, climbing toward the sky, and those gourds are swelling with potential. But timing is everything—miss the window, and you’ll end up with a rock-hard shell instead of a natural sponge.
The key? Watching for three visual cues that tell you it’s time to act.
Most gardeners wait until the gourds turn yellow and feel hard to the touch, but that’s just the beginning. The real magic happens when the skin resists a fingernail and the vines start to brown.
Harvest too early, and you’ll have a mushy mess; too late, and you’ll struggle to clean the fiber. I’ve made both mistakes—and here’s how to avoid them.
In this guide, I’ll walk you through the exact signs to harvest your luffa, regional tips for late summer to fall growing, and how to process it for maximum fiber yield. No more guesswork, just perfectly timed harvests every season.

3 Visual signs your luffa is ready for harvest (before it turns hard)
Harvesting luffa gourds at the right moment ensures you get the best fiber quality for your natural sponges. Too early, and the gourds won’t develop proper structure; too late, and they’ll become brittle and unusable. The key lies in watching for three distinct visual cues that signal peak harvest time.
First, pay attention to the fruit’s color transition. When luffa gourds shift from green to a pale yellow or beige hue, it’s your first clue that maturity is near.
This color change indicates the gourd’s internal fibers are fully developed but still soft enough to process. Ignoring this sign often leads to overripe gourds that crack open on the vine.
Next, examine the skin’s texture and firmness. A ripe luffa will feel dry to the touch and slightly rough, almost like a thick, papery skin. Gently press the gourd—if it resists your fingernail without denting, it’s ready.
This firmness means the flesh inside has hardened into the fibrous material we use for sponges.
🌱 Numbered Highlights: 3 Visual Cues for Perfect Luffa Harvest
- 1. Color Change: Gourds turn from green to pale yellow/beige—this signals fiber development is complete.
- 2. Skin Texture: Skin feels dry and rough (not soft or spongy). Press with a fingernail—if it doesn’t puncture, it’s ready.
- 3. Stem Changes: The stem turns brown and withers, indicating the gourd has finished growing.
Pro Tip: Shake the gourd—if seeds rattle inside, it’s a final confirmation of readiness! 🌿
The stem’s condition is the third critical clue. When the vine’s stem connecting the gourd to the plant turns brown and dries out, it’s a clear sign the gourd has reached maturity.
This natural withering happens as the plant redirects energy to other parts, leaving the gourd to harden. If you see green stems still attached, wait a few days.
Here’s how to distinguish between edible-stage luffa (young, green gourds) and fiber-stage luffa (ripe, yellow gourds). Young luffa can be eaten like zucchini, but their fibers aren’t developed. For sponges, focus on the yellow, hard-skinned gourds—these are the ones packed with the long, silky fibers we’ll process later.
Regional climate plays a role too. In warmer zones (USDA 9-11), luffa may ripen faster—watch for color changes by late August. In cooler areas (USDA 6-8), aim for September to October harvests. Always prioritize the visual cues over dates, as weather variations can shift timelines.
One common mistake is harvesting when the gourds are fully dried and brittle. By this point, the fibers lose elasticity and become crunchy instead of spongy.
The goal is to harvest when the gourds are yellow, firm, and still slightly pliable—this ensures the best fiber quality for your DIY projects.
After harvesting, cut the gourds from the vine using pruning shears, leaving a 1-inch stem attached. This prevents rot during the drying process. Store them in a well-ventilated, dry area for 2-4 weeks to fully cure the fibers before processing.
Mastering these three visual signs will transform your luffa harvest from hit-or-miss to consistently high-quality fiber. Once you’ve spotted these cues, you’ll never again miss the perfect moment to turn your garden’s bounty into durable, natural sponges!
Luffa harvesting mistakes that ruin your fiber (and how to avoid them)
Harvesting luffa gourds at the wrong time or using improper techniques can turn your fiber-rich harvest into a tough, unusable mess. Even experienced gardeners sometimes make critical mistakes that degrade the spongy texture you’re working so hard to cultivate.
The key lies in understanding timing cues and handling the gourds with care once they’re ready.
One of the biggest mistakes is harvesting too early, when the luffa is still green and soft. This results in weak fibers that won’t develop properly. On the other end, waiting too long until the gourds are completely dried on the vine makes them brittle and difficult to process.
Both extremes ruin your chances of creating high-quality natural sponges.
⚠️ Harvesting Too Late Warning
If you wait until luffa gourds are fully brown and dried on the vine, the fibers become brittle and cracked. The ideal moment is when they’re yellow and firm but still attached to the vine. This ensures maximum fiber flexibility for your sponges.
Another common error is using the wrong cutting technique. Many gardeners simply twist or pull the gourds off, which can damage the vine attachment point and leave jagged edges.
Instead, use a sharp pruning shears to cut the stem cleanly, about 1-2 inches above the gourd. This prevents unnecessary stress on the plant and makes post-harvest processing easier.
After harvesting, proper post-harvest care is crucial. Immediately rinse the luffa gourds with cool water to remove dirt and debris, then let them dry in a well-ventilated area for 3-5 days.
Placing them in direct sunlight speeds up drying but can cause uneven curing. If you skip this step, mold or rot can set in, ruining your entire harvest.
Don’t forget to label your luffa gourds at harvest time, especially if you’re growing multiple varieties. This helps you track which gourds are ready for processing and which still need time.
A simple twine tag with the harvest date works perfectly and saves headaches later when you’re ready to cure them.
Finally, avoid storing harvested luffa gourds in humid conditions or plastic bags. High moisture levels encourage mold growth, while plastic traps heat and accelerates spoilage. Instead, store them in a cool, dry place with good airflow until you’re ready to process the fibers.
Proper storage extends their usability and ensures you get the best possible results.