
Picking
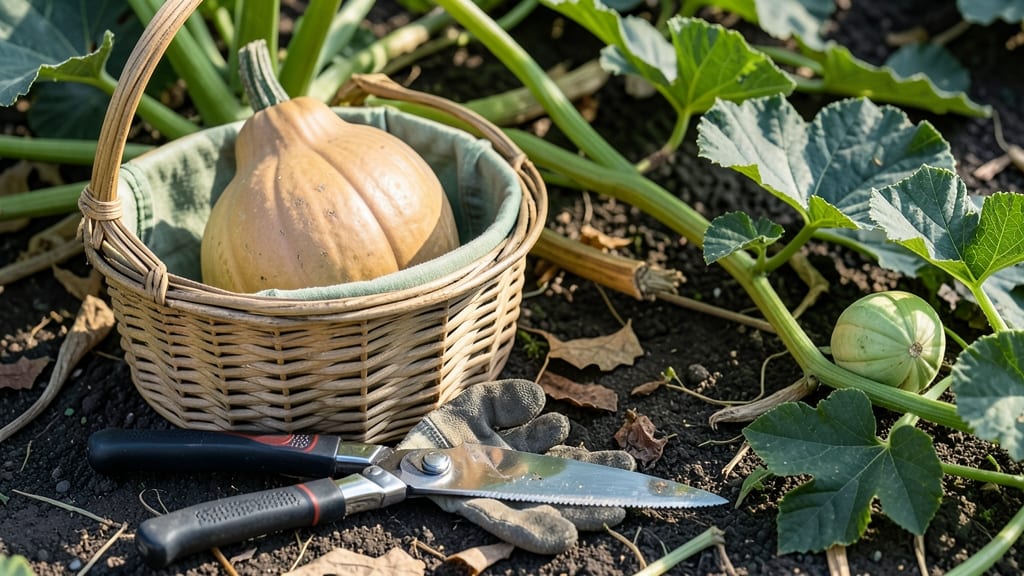
Knowing when to harvest butternut squash from the garden means the difference between a sweet, tender 🎃 and a tough, flavorless mess.
Picture this: you’ve spent weeks nurturing your vines, and now the moment is here—but how do you know when to pick? Too soon, and the flesh stays bland; too late, and you’re left with a rock-hard rind and stringy insides.
The key? Three simple tests that take just 5 minutes to master.
First, check the skin: it should be hard enough to resist a fingernail and deepen to a rich tan or beige. Next, look for a dried stem and a cavity where the seeds form. Finally, size matters—aim for 1-3 pounds, but never sacrifice ripeness for speed.
Below, I’ll walk you through these tests step by step, plus how to store your harvest for months of flavor. No guesswork, just perfect squash every time.
3 Physical tests to determine butternut squash ripeness
Knowing when to harvest butternut squash is all about three key physical tests that reveal its perfect ripeness. These simple checks—skin hardness, stem condition, and seed cavity development—ensure you pick your squash at its peak.
Skip these, and you risk a harvest that’s either too soft or past its prime. Let’s dive into the foolproof methods I’ve used in my garden for years.
First, the skin color change is your first clue. A ripe butternut squash transitions from pale green or yellow to a deep, tan or beige hue. This isn’t just about aesthetics—it signals the sugars have fully developed, giving you that sweet, nutty flavor we all love.
Pay close attention to the neck and body of the squash, as these areas mature fastest.
Next, focus on the stem and skin texture. A ripe squash will have a dry, papery stem that’s easy to snap off with your fingers. The skin should also feel hard and tough, almost like a thick rind.
If you press your fingernail into the skin and it doesn’t leave a mark, your squash is ready. This test is non-negotiable—it’s how I’ve avoided tough, stringy squash in the past.
Look for a deep, tan or beige hue—especially on the neck and body. Avoid pale or greenish patches.
The stem should snap easily and feel dry. If it’s still green and flexible, wait a few days.
Gently press near the blossom end. If it feels soft and hollow, seeds are mature but still tender.
Don’t overlook the seed cavity test, which is often overlooked but critical. Press gently near the blossom end (the flat side where the stem meets the squash). If it feels soft and slightly hollow, the seeds inside are mature but still soft—ideal for eating.
A hard cavity means the squash has overripe seeds, which can make the flesh grainy. I’ve learned this the hard way after storing squash for too long!
Timing matters too. In my Zone 6a garden, I start checking squash for ripeness in late September, but your local climate will shift this window. If you’re in a warmer zone, you might harvest as early as mid-August.
The key is to act before the first frost, as cold temperatures can ruin the flavor and texture.
Pro tip: Use a sharp knife or pruning shears to harvest, leaving a 1-inch stem attached. This helps the squash cure properly and last longer in storage. I always label my squash with the harvest date—it’s a small habit that saves me from confusion later.
Store them in a cool, dry place (50–55°F) for up to 3 months.
If you’re unsure, harvest a few squash early and taste-test them. Underripe squash will be watery and bland, while overripe ones taste starchy and dry. This hands-on approach ensures you never miss the sweet spot. Trust your senses—they’re your best tool in the garden.
Remember, patience pays off. Butternut squash won’t ripen further after picking, so nail these tests to guarantee a harvest that’s sweet, tender, and perfect for roasting, soups, or baking. Happy harvesting!
How long does it take for butternut squash to mature?
Butternut squash typically takes 75 to 100 days from planting to reach maturity, depending on your climate and the specific variety.
In my garden, I’ve seen early-maturing varieties like 'Waltham Butternut' ready in as few as 80 days, while heirloom types like 'Sugar Pie' may take closer to 100 days. These timelines assume ideal growing conditions—warm soil, full sun, and consistent moisture.
Your local climate plays a huge role in the timeline. In cooler regions like USDA Zone 5, squash may take longer to mature, while warmer zones like Zone 8 or 9 can produce harvests faster.
For example, I planted seeds in mid-May in Zone 6 and harvested by early October—right before the first frost. Adjust your expectations based on your last frost date and average growing season length.
Variety selection is another key factor. Some butternut squash varieties are bred for faster growth, making them ideal for shorter growing seasons. If you’re in a northern climate, opt for early-maturing hybrids like 'Gold Rush' or 'Burpee Bush Delicata' (a close relative). In warmer areas, you can afford to grow slower, heirloom varieties without rushing the harvest.
| Stage | Timeframe | Key Actions |
|---|---|---|
| Seed Germination | 5-10 days | Keep soil warm (70°F+), water lightly |
| Seedling Growth | 3-4 weeks | Thin to 2-3 ft apart, provide trellis if needed |
| Vining & Flowering | 4-6 weeks | Hand-pollinate flowers for better yields |
| Fruit Development | 6-8 weeks | Monitor for pests, mulch to retain moisture |
| Harvest Readiness | 80-100 days | Check skin hardness, stem dryness, and size |
If you’re aiming for an early harvest, start seeds indoors 4-6 weeks before your last frost date. Transplant seedlings outdoors after the soil warms to at least 60°F. In my experience, container gardening can also speed up maturity slightly because containers warm faster in spring.
Just ensure your pots are at least 5 gallons to accommodate the vining habit.
For a late harvest, focus on storage varieties like 'Long Island Cheese' that keep well for months. These squash can handle cooler temperatures and may continue maturing even as daytime temps drop.
I’ve left some squash on the vine until late October (just before frost) and still enjoyed excellent flavor and texture. Just be sure to harvest before the first hard frost, as freezing temperatures will ruin the squash.
Pro tip: Use a planting calendar to track your squash’s progress. Mark the day you plant seeds, then count back from your average first frost date to estimate harvest windows.
For example, if your frost date is October 15 and your variety takes 90 days, aim to harvest by early July—but adjust for your specific climate! 🎃