
How To
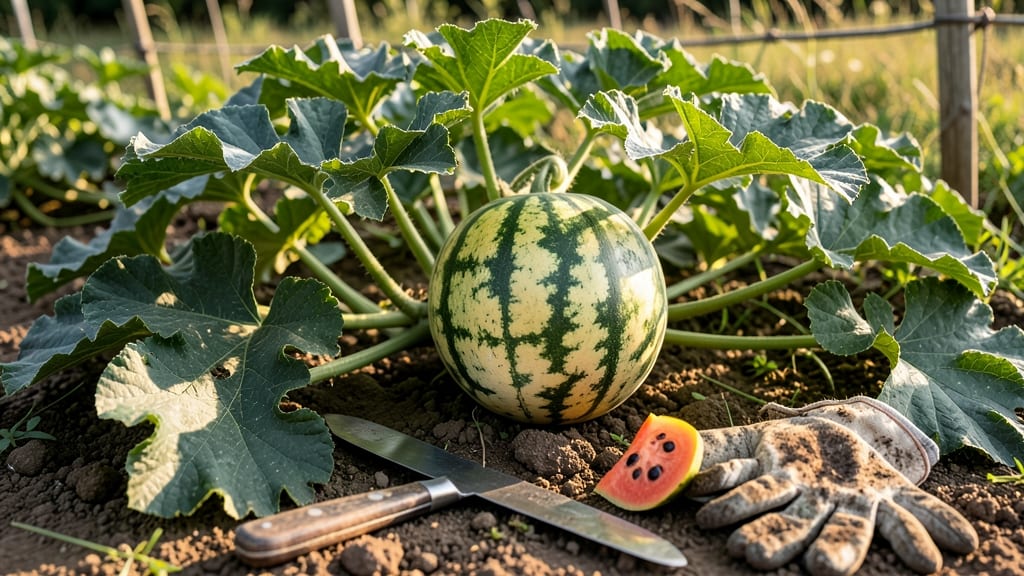
Harvesting watermelon at the right time means waiting 60 to 90 days for that perfect balance of sweetness and texture—but how do you know when it’s ready?
Picture this: your 🍉 watermelon still feels rock-hard even after weeks of growth. The secret isn’t just counting days—it’s the ground color shift that tells you the exact moment to harvest for peak sweetness.
That creamy yellow spot at the stem isn’t just a trend; it’s the foolproof sign gardeners in Zone 6a swear by.
Too early, and you’re left with a bland, seedy mess. Too late, and your melon turns grainy or overripe. The key is combining days to maturity with visual cues—like the tendril turning brown or the rind resisting your thumbnail.
I’ll break down the timeline by variety and show you how to spot these signs before cutting.
By the end, you’ll know exactly when to harvest—no guesswork, no wasted melons. Let’s get started.

Watermelon harvest timeline: days to maturity by variety (with ground color clues)
Counting days to harvest watermelon is just the starting point—what really matters is the ground spot color change that signals peak ripeness. Most varieties mature between 60-90 days, but ignoring the cream or yellow patch at the fruit’s base means you’re guessing at flavor.
I’ve learned the hard way: a watermelon harvested too early tastes bland, while one left too long turns mushy and seedy.
The ground color shift is your secret weapon. When the spot where the watermelon rested on the soil turns from white or green to creamy yellow or tan, that’s your cue to harvest.
This change happens just before the fruit reaches its sweetest point, and it’s more reliable than counting days alone. Pair this with the thump test (a dull sound = ripe), and you’ll never miss the window again.
Here’s the breakdown by popular varieties—because not all watermelons follow the same timeline. The days to maturity vary slightly, but the ground color clue remains universal.
| Variety | Days to Maturity | Ground Spot Color | Best Harvest Months |
|---|---|---|---|
| Seedless Watermelon | 70-80 days | Creamy yellow | July-August |
| Crimson Sweet | 80-90 days | Tan or yellowish | August-September |
| Charleston Gray | 60-75 days | Light yellow | July-August |
| Sugar Baby | 75-85 days | White turning yellow | August |
| Yellow Doll | 65-75 days | Yellowish-white | July |
If you’re growing Seedless Watermelon, expect to wait 70-80 days for harvest, but don’t rely solely on the calendar. The ground spot color will shift to creamy yellow just before it’s ready.
For Crimson Sweet, the longer maturity window (80-90 days) means you’ll need patience, but the tan or yellowish patch is your final signal. Charleston Gray, on the other hand, matures faster (60-75 days), so keep an eye on that light yellow ground spot—it’s your green light to pick.
Pro tip: Morning harvests are ideal because the fruit has had time to cool overnight, preserving its sweetness. Cut the watermelon from the vine using a sharp knife or pruners, leaving a 1-inch stem to prevent rot.
The ground color clue fades quickly after ripeness, so act fast once you spot that creamy patch!
Regional differences matter too. In warmer climates (like Zone 9+), watermelons may mature 10-15 days earlier than the chart suggests. Conversely, in cooler zones (like Zone 7), extend your timeline by 5-10 days and watch for the ground color shift more closely.
Soil temperature also plays a role—watermelons grow best in soil above 70°F (21°C), so if your summer cools off, ripening slows down.
One mistake I’ve seen gardeners make is harvesting by vine length instead of ripeness cues. Just because the vine is sprawling doesn’t mean the fruit is ready. Always check the ground spot color first—it’s the most reliable indicator.
Pair it with the tendril test (the small vine near the fruit should turn brown and crispy), and you’ve got a foolproof system.
For container-grown watermelons, like Sugar Baby, the timeline is similar, but the ground spot color change is harder to see. Instead, focus on the fruit’s weight (ripe melons feel heavy for their size) and the thump test.
If it sounds hollow, it’s overripe. If it’s too firm, wait another 3-5 days and check the color again.
Remember, the ground color shift is nature’s way of telling you, “Now’s the time!” Don’t ignore it—your next slice of juicy watermelon depends on it. 🍉
How to check watermelon ripeness beyond days: 3 non-negotiable signs
Counting days to harvest watermelon is just the starting point—what truly matters are the visual cues your plant gives you. I’ve learned the hard way that ignoring these signs leads to either underripe, hard melons or overripe, grainy ones.
The key is combining the ground color shift with two other foolproof indicators that tell you exactly when to pick.
Most gardeners focus only on days to maturity (60-90 days depending on variety), but the real magic happens when you check for these three non-negotiable signs. Skipping them means risking a watermelon that’s either too seedy or too mushy—neither of which is ideal for slicing.
Let’s break down what to look for in the field.
- 🔹 Ground Spot Color: Look for a creamy yellow/white patch where the melon rests on the ground. This is your #1 clue!
- 🔹 Tendril Test: The small vine near the stem should turn brown and crispy—this means the melon is ready.
- 🔹 Thump Test: Tap the melon—it should sound dull and hollow, like a ripe melon at the store.
The ground color shift is often overlooked, but it’s the most reliable indicator. When the white patch turns yellow or cream, it means the melon has fully matured internally.
I’ve seen gardeners in Zone 6a swear by this trick—even if the melon still feels firm, that color change signals peak sweetness. Pro tip: Check this spot first thing in the morning when the fruit is cool.
Next, examine the tendril nearest the stem. A ripe watermelon will have a dry, brown tendril—this is nature’s way of telling you it’s time to harvest. If it’s still green or flexible, give the melon 5-7 more days.
I once waited too long because I missed this sign, and my watermelon turned grainy and watery—a mistake I won’t repeat!
Finally, perform the thump test by tapping the melon with your knuckles. A ripe watermelon produces a deep, hollow sound, almost like a drum. If it sounds dull or flat, it’s not ready yet.
This test works best on a hard surface, like concrete or packed soil. I test mine by gently tapping near the stem—if it’s hollow, I know it’s time to pick.
Ignoring these signs leads to two common failures: underripe melons that are hard, seedy, and bland, or overripe melons that split or turn mushy. By combining the ground color shift, tendril dryness, and thump test, you’ll harvest watermelons at their sweetest peak every time.
Trust me—your taste buds will thank you!