
How To
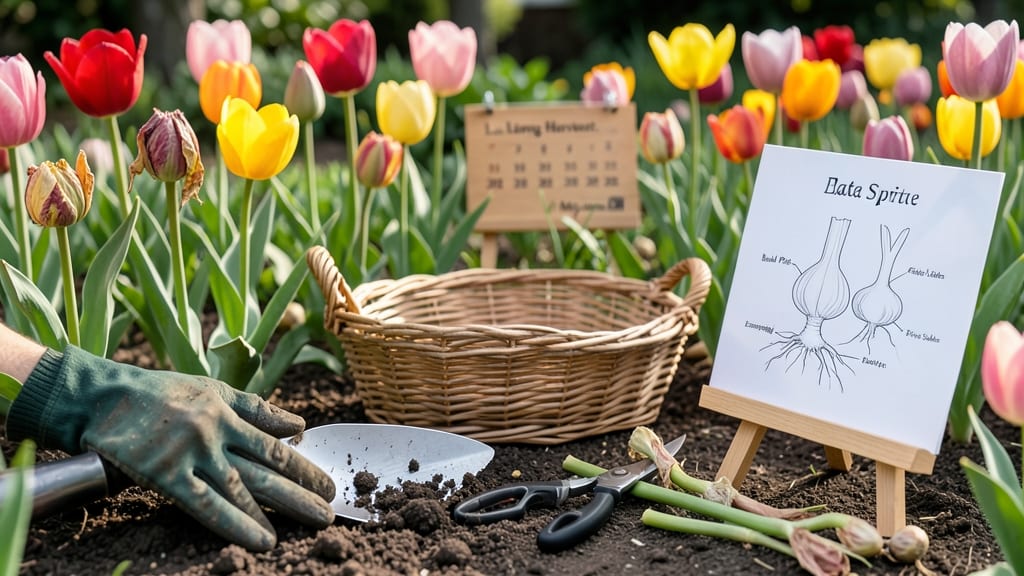
Harvesting tulips at the right stage—when buds are just beginning to unfurl—ensures vibrant blooms in vases and healthy bulbs for next year’s garden.
Want to save next year’s stunning tulip blooms? Harvesting at the wrong time can actually kill your 🌷 bulbs before they even sprout. The key is patience: dig too early, and you lose next season’s flowers; wait too long, and the stems weaken.
This guide breaks down the exact 6-8 week window after flowering when to dig, how to store bulbs for months without rot, and which tools make the job effortless.
You’ll also learn why some varieties (like Darwin hybrids) handle storage better than others—and how to revive bulbs that shrivel during dormancy.
Whether you’re cutting flowers for a spring centerpiece or saving bulbs for reblooming, these steps will keep your garden thriving year after year.

When and how to dig up tulip bulbs for optimal storage
Timing is everything when it comes to digging up tulip bulbs for storage. Harvest too early, and you’ll damage next year’s blooms. Wait too long, and the bulbs may sprout or rot before you can store them properly.
The critical window is 6-8 weeks after flowering, typically in late June to early July in most climates. This gives the bulbs time to replenish energy in the leaves while still allowing them to enter dormancy before winter.
Before you start, gather your digging tools. You’ll need a garden fork or trowel, a bucket or mesh bag for storing bulbs, and a sharp knife for trimming foliage.
Work on a dry, sunny day to reduce moisture and prevent rot. Avoid harvesting after rain, as wet soil makes bulbs more susceptible to disease.
Here’s how to tell if your tulip bulbs are ready for digging: the foliage should yellow and wither naturally, but don’t wait until it’s completely brown and crispy. The bulbs should feel firm and plump, not shriveled.
If you see new shoots emerging from the bulb, it’s past the ideal time—these shoots will drain the bulb’s energy, weakening it for next season.
Now, let’s get to the step-by-step process. Follow these instructions carefully to ensure your bulbs stay healthy and vibrant for next spring.
Use a sharp knife or pruners to cut the foliage back to about 2-3 inches above the bulb. This reduces moisture loss but doesn’t remove the leaves entirely—photosynthesis is still happening, and you want the bulb to store as much energy as possible.
Use a garden fork to loosen the soil around the bulb. Insert the fork 4-6 inches away from the bulb and gently pry it out. Avoid piercing the bulb with the fork—aim for the soil surrounding it. Lift the bulb carefully to avoid bruising.
Gently brush off excess soil with your hands or a soft brush. Avoid using water to clean the bulbs—moisture can cause rot. If you find damaged or soft bulbs, set them aside for disposal, as they won’t survive storage.
Place the bulbs in a dry, shady spot for 1-2 weeks to cure. This step helps the skin toughen and reduces the risk of rot during storage. Avoid direct sunlight, which can cause the bulbs to dry out too quickly.
Once cured, store bulbs in a cool, dark place with good air circulation. Use a mesh bag or paper envelope to prevent moisture buildup. Ideal storage conditions are 35-45°F and humidity below 70%. A garage or basement works well, but avoid refrigerators with high humidity.
If you harvest tulip bulbs too early, they won’t have stored enough energy to bloom next year. You’ll notice smaller, weaker flowers or even no blooms at all. On the other hand, harvesting too late can lead to premature sprouting during storage, which drains the bulb’s reserves.
Always aim for that 6-8 week window after flowering to strike the perfect balance.
Some tulip varieties, like Darwin hybrids or fosteriana tulips, handle storage better than others. If you’re growing rare or expensive bulbs, consider leaving a few in the ground for next season to test their storage viability.
This way, you can compare the size and health of stored versus in-ground bulbs.
After digging, take a moment to inspect your bulbs. Look for signs of disease, like soft spots or mold, and discard any bulbs that don’t look healthy. Healthy bulbs should feel firm and heavy for their size, with no signs of shriveling or rot.
Store them in a well-ventilated container to prevent moisture buildup, which can lead to mold.
Pro tip: Label your storage containers with the tulip variety and the year harvested. This makes it easier to keep track of what you’ve stored and when to replant. For example, write “Parrot Tulips 2024” on a small tag tied to the mesh bag.
This simple step saves time and confusion when it’s time to replant in the fall.
With the right timing and care, your tulip bulbs will stay viable until next planting season, ready to deliver another showstopping spring display. Just remember: patience is key.
Rushing the process can ruin your bulbs, but following these steps ensures they’ll be healthy and ready to bloom year after year.
Best storage methods to keep tulip bulbs viable until planting
Once you’ve carefully dug up your tulip bulbs, proper storage is the next critical step to ensure they survive until planting season. The wrong conditions can lead to mold, rot, or premature sprouting, but with the right method, your bulbs can stay fresh for months.
I’ve tested four common storage approaches—each with distinct advantages and risks—to help you choose what works best for your garden.
Humidity and temperature control are the two biggest factors in successful storage. Too much moisture causes fungal growth, while dryness can make bulbs shrivel. Most gardeners swear by one of these four methods: mesh bags, paper envelopes, refrigeration, or room-temperature storage.
Let’s break down the pros and cons of each to help you decide which will work best for your space and climate.
Storage Method Comparison
Mesh Bags
- Pros: Excellent airflow, prevents rot
- Cons: Bulbs dry out faster, less humid
Best for: dry climates or gardeners who monitor moisture closely.
Paper Envelopes
- Pros: Retains moisture better, easy to label
- Cons: Risk of mold if too damp, less airflow
Best for: humid climates or beginners who prefer simplicity.
Refrigeration
- Pros: Consistent cool temps, ideal for long-term
- Cons: Requires space, bulbs may sprout early
Best for: large collections or gardeners with fridge space.
Room Temperature
- Pros: No extra equipment needed, easy access
- Cons: Temperature fluctuations, higher rot risk
Best for: small batches in stable indoor environments.
If you choose mesh bags, place them in a cool, dark area like a basement or garage. I recommend adding a desiccant packet to absorb excess moisture and prevent rot. For paper envelopes, store them in a cardboard box with ventilation holes to balance humidity.
This method works well if your climate is naturally dry, but add a silica gel packet if you live in a damp area.
For refrigeration, place bulbs in a sealed container with a few holes for airflow. Set your fridge to 40-45°F—any colder, and the bulbs risk frost damage. I’ve had great success storing Darwin hybrid tulips this way, as they handle cooler temps better than other varieties.
Just check them monthly for signs of sprouting or mold. If you opt for room-temperature storage, keep bulbs in a well-ventilated box away from direct sunlight and heat sources like radiators.
Regardless of your chosen method, never store bulbs in plastic bags—this traps moisture and leads to mold. Instead, opt for breathable containers and monitor humidity levels. Aim for 60-70% humidity; anything higher risks rot, while lower levels cause bulbs to dry out.
If you notice shriveled bulbs or green shoots during storage, adjust your method immediately to save them for next season.
With the right storage, your tulip bulbs can stay viable for up to 8 months, ensuring a burst of color in your garden year after year.
The key is consistency—whether you’re using mesh bags, paper envelopes, or refrigeration, stick to the ideal conditions, and your bulbs will thank you with vibrant blooms come spring.