
How To
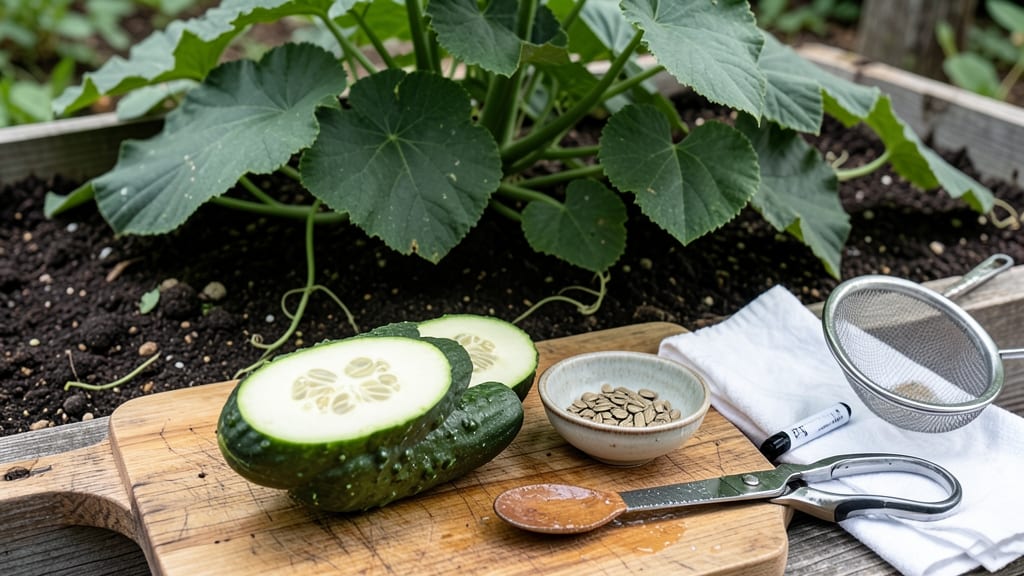
Harvesting cucumber seeds from overripe 🥒 fruits lets you save rare varieties and skip the seed store next season—it’s simpler than you’d expect.
Picture this: you’ve grown a prized heirloom cucumber, and instead of tossing the last few overripe ones, you’re saving seeds to replant. The secret?
A few key steps—like choosing the right cucumbers, fermenting the pulp to clean the seeds, and drying them properly—can turn your garden scraps into next year’s starter plants.
Most gardeners overlook seed saving, but it’s one of the easiest ways to preserve plant genetics and cut costs. Below, I’ll walk you through the exact process: from picking the perfect cucumbers to storing seeds so they stay viable for years.
By the end, you’ll know how to dry seeds in 3 simple methods, spot signs of poor viability, and store them like a pro—no fancy equipment needed.
Step-by-step guide to harvesting cucumber seeds from overripe fruits
Saving cucumber seeds from your garden is a rewarding way to preserve heirloom varieties and ensure next year’s harvest matches your favorite flavors. The key is selecting fully ripe cucumbers—those that have turned yellow or brown at the stem end and feel soft to the touch.
These overripe fruits contain the most viable seeds, ready for extraction and drying.
Unlike harvesting cucumbers for eating, where you pick them green and firm, seed-saving requires patience. Allowing cucumbers to stay on the vine until they overripen ensures the seeds inside are fully developed and capable of germinating.
This process also helps remove the bitter compounds that can inhibit seed viability, making your saved seeds more reliable for future planting.
Before you begin, gather a few essential supplies: a sharp knife, a bowl for seed extraction, water, a fine-mesh strainer or cheesecloth, and a paper towel or seed-saving envelope.
Having these tools ready will make the process smoother and more efficient, reducing the risk of contamination or seed loss during handling.
Step-by-Step Guide to Harvesting Cucumber Seeds
-
Step 1: Select the Right Cucumbers
Choose overripe cucumbers with a yellow or brown stem end and soft skin. Avoid cucumbers with pests or mold, as these can contaminate your seeds. -
Step 2: Scoop Out the Seeds
Cut the cucumber open lengthwise and use a spoon to scrape out the seeds and gel. Place the mixture in a bowl and add twice as much water to create a slurry. -
Step 3: Ferment the Seeds (Optional but Recommended)
Cover the bowl and let it sit in a warm, dark place for 3-5 days. This fermentation step helps remove the gel that coats the seeds, improving viability. -
Step 4: Rinse and Strain
After fermentation, rinse the seeds in a fine-mesh strainer until the water runs clear. This removes any remaining pulp or debris. -
Step 5: Dry the Seeds
Spread the seeds on a paper towel in a single layer. Place them in a warm, dry, and well-ventilated area for 3-5 days, stirring occasionally to prevent clumping. -
Step 6: Store the Seeds
Once completely dry, transfer the seeds to a paper envelope or airtight container. Label with the variety name and date for future reference.
The fermentation step is crucial for removing the bitter pulp that surrounds cucumber seeds, which can inhibit germination if left intact. During this 3-5 day process, the pulp breaks down naturally, making it easier to rinse away.
If you’re short on time, you can skip fermentation and rinse the seeds immediately, though this may slightly reduce their viability.
Once your seeds are dry, store them in a cool, dark place like a seed-saving envelope or small glass jar. Labeling your seeds with the variety name and harvest year will save you headaches later when you’re ready to plant.
Properly stored cucumber seeds can remain viable for 3-5 years, though germination rates may decline over time.
If you notice any mold or foul odors during the fermentation process, discard the seeds immediately and start fresh with a new batch. Contaminated seeds won’t germinate and could spoil your entire harvest. Always work in a clean environment to minimize the risk of fungal or bacterial growth.
For best results, save seeds from open-pollinated varieties rather than hybrid cucumbers. Hybrid seeds often don’t produce true-to-type plants, meaning your saved seeds may not grow cucumbers identical to the parent plant. Stick to heirloom or open-pollinated varieties for consistent results year after year.
With these steps, you’ll have a stash of homegrown cucumber seeds ready for next season’s garden. Not only does this save money, but it also ensures you’ll always have access to your favorite varieties—no matter what’s available at the store!
Best drying methods for cucumber seeds: paper vs. silica gel vs. air-drying
Once you've extracted your cucumber seeds, the next critical step is proper drying to ensure high germination rates and long-term viability. The drying method you choose can make all the difference in seed quality.
I’ve tested three popular techniques—paper towel drying, silica gel packets, and traditional air-drying—and here’s what I’ve learned about each. Each method has unique benefits depending on your time, tools, and environment.
For gardeners with limited space or humidity issues, silica gel offers the fastest results, typically drying seeds in 24-48 hours. However, it requires an upfront investment in packets and careful monitoring to avoid over-drying.
On the other hand, air-drying is the most budget-friendly option, ideal for those who can dedicate a week or more to the process. Meanwhile, paper towel drying strikes a balance, offering speed without the cost of silica gel.
| Method | Time Required | Pros | Cons | Best For |
|---|---|---|---|---|
| Paper Towel | 3-5 days | Fast, reusable, no special tools | Requires monitoring, humidity-sensitive | Small batches, beginners |
| Silica Gel | 24-48 hours | Fastest method, consistent results | Costly, requires disposal of used gel | Large batches, urgent drying |
| Air-Drying | 7-14 days | Free, no tools needed | Slow, weather-dependent | Large quantities, patient gardeners |
If you’re using the paper towel method, spread cleaned seeds on a single-layer paper towel and place it in a warm, dry spot like a sunny windowsill or near a dehumidifier. Flip the towel every 24 hours to ensure even drying.
This method works best in low-humidity environments (below 50% humidity) to prevent mold. I’ve found that placing a small fan nearby helps speed up the process by 20-30%.
The silica gel method is my go-to when I need seeds ready quickly. Simply place seeds in a sealed container with 2-3 silica gel packets and let them sit for 24-48 hours. The gel absorbs moisture rapidly, but I always check seeds after 12 hours to avoid over-drying.
This method is perfect for heirloom varieties where seed viability is critical. Just remember to reuse or dispose of the gel properly after use.
For the air-drying method, lay seeds on a screen or mesh tray in a well-ventilated area with indirect sunlight. A garage or shed works well if temperatures stay between 70-80°F. Avoid direct sunlight to prevent seed damage.
I’ve had the best results when air-drying seeds in late summer or early fall, when humidity naturally drops. Patience is key—rushing this process can lead to incomplete drying and mold.
No matter which method you choose, always test a few seeds for germination viability before storing the batch. Place 5-10 seeds on a damp paper towel in a ziplock bag and check for sprouts in 7-10 days.
If 80% or more germinate, your drying method was successful. Store viable seeds in a cool, dry place for up to 5 years.