
How To
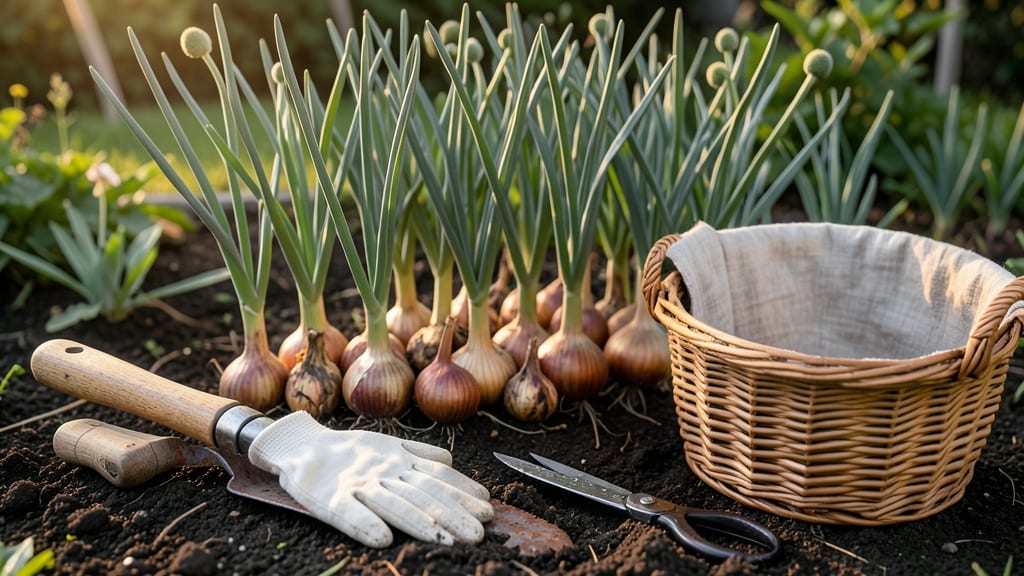
Harvesting shallots at the right time means the difference between a mild, sweet bulb and one that’s tough or bitter—so timing is everything for gardeners in zones like 6a.
Picture this: you’ve nurtured your 🧅 shallots all season, and now the tops are turning yellow while the bulbs swell beneath the soil. That’s your cue—but wait too long, and the flavor fades.
I’ve dug up shallots too early (small and pungent) and too late (soft and split), and trust me, you’ll want to nail this window.
Late summer through early fall is prime harvest time, but regional climate tweaks the exact date. In cooler areas, aim for August to September; warmer zones can stretch into October.
The key is watching for three clear signs: bulbs the size of a golf ball, drying foliage, and skin that peels back easily.
Once you spot those clues, you’ll learn how to harvest and store them properly to keep that fresh flavor for months. Below, I’ll walk you through the exact steps—so you can enjoy homegrown shallots all winter long.

3 Visual signs shallots are ready for harvesting
Harvesting shallots at the right moment transforms your garden into a flavor powerhouse—when done too early, you risk small, pungent bulbs, and too late means tough, woody textures. Timing is everything, and these three visual cues will help you nail it every time.
Paying attention to leaf color, bulb size, and ground-level changes ensures you harvest at peak sweetness and storage potential.
First, let’s talk about the leaf color transformation. Healthy, vibrant green foliage signals active growth, but when the tops start turning yellow-brown and drying, that’s your first major clue.
This shift happens naturally as the plant redirects energy to bulb development. Don’t wait until the leaves are crispy—harvest when they’re just starting to yellow, usually 4-6 weeks after flowering.
Next, examine the bulb size and firmness. Mature shallots should measure about 1-2 inches in diameter when sliced open.
Gently dig around one bulb to check—if it feels firm and dry to the touch (like a small potato), it’s ready. Soft or squishy bulbs mean they’re overripe, while tiny bulbs are still maturing. This is where patience pays off!
Finally, look at the ground-level indicators. The skin should be dry and papery, not slick or moist. If you can easily pull a bulb from the soil without resistance, that’s another green light. Resistant bulbs need more time, while those that separate cleanly are perfect for harvest.
Tops turn yellow-brown and begin drying naturally. Harvest when 50-70% of leaves show this color shift.
Bulbs reach 1-2 inches in diameter and feel firm and dry when touched.
Skin becomes dry and papery, and bulbs pull easily from soil without resistance.
Harvesting at the right time isn’t just about flavor—it’s also about storage potential. Overripe shallots spoil faster, while underripe ones won’t store well. Aim for late summer to early fall (August-October in most climates) when these signs align.
If you’re in a cooler region, wait until after the first frost threat has passed.
One common mistake is waiting until the leaves are completely brown and crispy. This means the bulbs are overmature and may have split or developed tough layers.
Instead, act when you see the first yellowing leaves—this is your window for the sweetest, most storable harvest. Morning harvests are ideal because the soil is cooler and firmer, making it easier to dig without damaging the bulbs.
For gardeners in warmer climates, shallots may mature earlier, sometimes as early as July. Pay close attention to your local frost dates—if a frost is forecasted, harvest 2-3 weeks beforehand to avoid bulb damage. Regional adjustments matter because temperature and daylight hours influence maturity rates.
Once you’ve spotted these signs, use a garden fork or spade to gently loosen the soil around the bulbs. Lift them carefully to avoid bruising. Shake off excess dirt and let them cure in a dry, shaded spot for 1-2 weeks before storing.
This curing process enhances flavor and extends shelf life.
Remember, every shallot variety matures slightly differently. French Gray and Dutch Yellow varieties, for example, tend to mature faster than larger types like Potager. Always monitor your specific variety’s progress—visual cues are universal, but timing can vary.
By mastering these three visual signs, you’ll consistently harvest shallots at their peak—ready to store, cook, or share with fellow gardeners. Happy digging! 🧅
Best time of year to harvest shallots for maximum yield
Timing your shallot harvest correctly ensures you get the sweetest, most flavorful bulbs possible. Unlike onions, shallots prefer a cooler climate for optimal development, which means your harvest window shifts based on your USDA zone.
In Zone 6a, where I garden, I aim to harvest between late August and early October, but warmer regions can extend this until mid-October.
Shallots thrive in cool-season growing, so they’re ready to harvest just before the first frost hits. If you live in a hotter climate, like Zone 8 or higher, you might even see a second harvest in spring—though these bulbs won’t be as large.
The key is to watch the foliage and bulb size rather than relying solely on the calendar.
If you’re in a cooler region, like Zone 5 or below, focus on harvesting in late summer before the first frost. Shallots can tolerate light frosts, but prolonged cold will damage the bulbs.
In warmer zones (7-10), you might see two harvests: one in late summer and another in spring, though the spring harvest will yield smaller bulbs.
One common mistake I’ve seen is waiting too long to harvest, thinking bigger bulbs mean better flavor. But overripe shallots become soft and pungent, losing their sweetness.
The best time to harvest is when the tops turn yellow and the bulbs are firm to the touch—usually 100-120 days after planting. This aligns with late summer to early fall for most gardeners.
For maximum yield, avoid harvesting during peak heat (midday) or after heavy rain, as this can stress the plants. Early morning is ideal—when the soil is moist but not soggy.
After harvesting, let the shallots cure in the sun for 2-3 hours to toughen the skins before storing. This simple step makes all the difference in long-term storage and flavor retention.
Remember, shallots are perennial in warm climates, meaning they’ll regrow if not fully harvested. If you’re in Zone 8+, you can leave a few bulbs in the ground for a spring harvest, but they’ll be smaller.
For the best results, prioritize the fall harvest when bulbs are at their peak size and flavor.