
How To
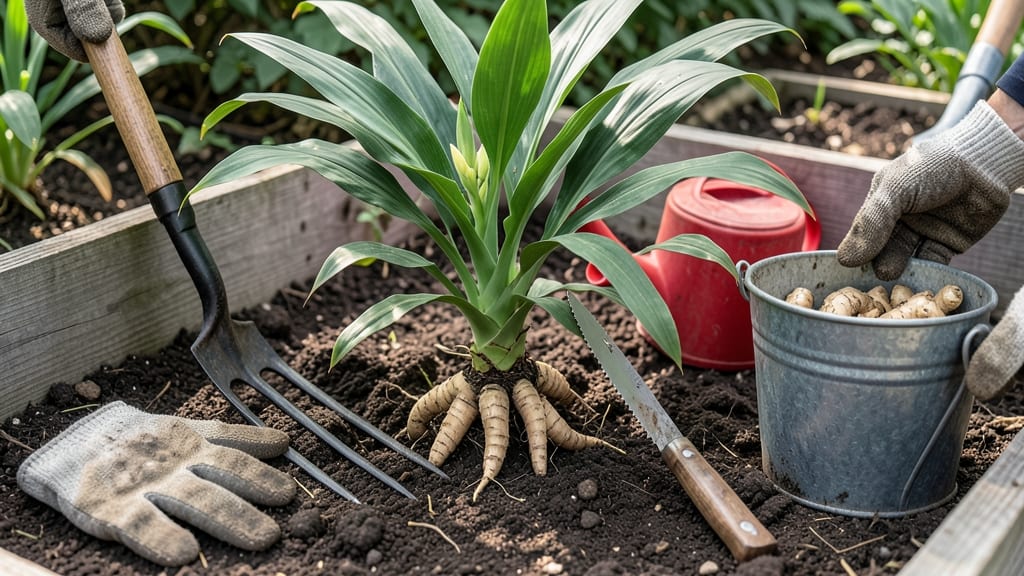
Harvesting ginger root plant at the right time turns your garden into a spice goldmine—here’s how to dig up plump, flavorful rhizomes without a single bruise.
You’ve nurtured your 🌿 ginger for months, watching those lush leaves unfurl, only to wonder: When’s the perfect moment to pull it from the ground? Too early, and you’ll end up with tiny, underdeveloped roots.
Too late, and frost or overgrowth can ruin your harvest. The trick? Timing it just as the leaves yellow and the rhizomes swell—usually 9-12 months after planting.
But knowing when is only half the battle. The real secret lies in the how: using the right tools, handling the roots with care, and curing them properly to lock in that fiery, aromatic punch.
Skip these steps, and you might as well be tossing your harvest into the compost.
In this guide, I’ll walk you through the exact moment to dig, the tools you’ll need, and the post-harvest tricks to store your ginger for months—so you can enjoy fresh, homegrown spice straight from your garden to your kitchen.

When to harvest ginger root for maximum yield and flavor
Timing your ginger harvest is everything—dig too early, and you’ll get small, underdeveloped rhizomes. Wait too long, and you risk losing your crop to frost or soil-borne diseases. The ideal harvest window for ginger is between 9 and 12 months after planting, but this varies based on your climate.
In tropical zones, you can harvest as early as 6 months, while temperate gardeners should aim for late fall or early winter when the plant enters dormancy.
Look for these key signs that your ginger is ready: yellowing leaves, dormant growth, and plump, firm rhizomes with thick, brownish skin. If you see these, your ginger is primed for harvest.
But if the leaves stay green and vibrant, the rhizomes are still developing—wait a few more weeks.
Climate plays a huge role in harvest timing. In USDA Zones 9-11, ginger thrives year-round, and you can harvest anytime after 6 months. However, in cooler zones (like Zones 8 and below
Always harvest before the first frost, or your rhizomes will rot in the ground. Here’s a quick seasonal guide to help you time your harvest perfectly, whether you're in a tropical paradise or a temperate climate: If you’re growing ginger in containers, harvest slightly earlier—around 8-10 months—since root growth is more limited. Watch for the same signs: yellowing leaves and dormant growth. Containers also dry out faster, so keep soil consistently moist leading up to harvest to encourage larger rhizomes. One common mistake is harvesting ginger too late, especially in cooler climates. If frost hits, the rhizomes will turn mushy and unusable. Always dig up a small test section of your crop to check for readiness. If the rhizomes are plump and firm, it’s time to harvest the rest. If they’re still small, wait another 2-4 weeks. For the best flavor, harvest ginger when the rhizomes are fully developed but before the plant sends up new shoots in spring. This ensures maximum aroma and potency. Store your freshly harvested ginger in a cool, dry place for up to 6 months, or cure it for longer storage—we’ll cover those methods in the next section. Pro tip: If you live in a tropical climate, you can harvest ginger year-round by planting new rhizomes every 3-4 months. This staggered approach ensures a continuous supply of fresh ginger for cooking and gardening. 🌱
Step-by-step guide to digging and handling ginger roots
Once your ginger plant signals it’s harvest-ready with yellowing leaves and dormant growth, the next 24 hours are critical. Rushing or mishandling can turn your plump rhizomes into mushy disappointments.
I’ve dug up ginger for years, and the difference between a perfect harvest and a ruined one often comes down to the tools you use and the care you take during extraction.
Start by gathering your essential tools: a hand fork or garden trowel (never a shovel—it’ll slice those delicate roots), thick gardening gloves (ginger roots can be abrasive), and a large bucket for sorting.
Avoid metal tools if possible—they can bruise the rhizomes, shortening their storage life. A plastic or wooden fork is gentler and keeps your harvest intact.
Now, let’s dive into the exact steps to dig up your ginger without damage. Follow this numbered checklist to ensure every rhizome is handled with precision.
After digging, the biggest mistake I’ve seen gardeners make is rinsing the rhizomes immediately. While it might seem logical to clean off dirt, wet roots are prone to fungal infections and spoilage.
Instead, let them air-dry completely before storing. Another common error? Storing ginger too soon—uncured rhizomes will sweat and rot within weeks.
Pro tip: If you’re harvesting in humid climates, speed up the curing process by placing the rhizomes on a wire rack or clean towel in a well-ventilated area.
This prevents mold and ensures your ginger stays firm and flavorful for months. Once cured, store in a cool, dark place like a pantry or root cellar.
With these steps, you’ll transform your garden’s ginger harvest into a pantry staple that rivals store-bought—only better, because it’s homegrown and full of flavor. Happy digging! 🌱