
How To
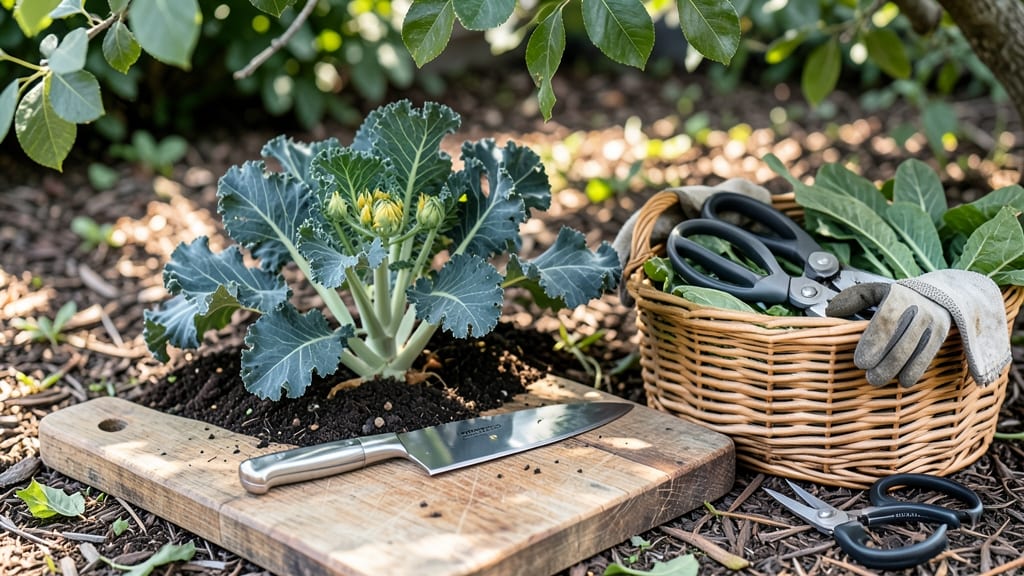
Harvesting kale the right way means crisp, flavorful leaves that keep producing for months—if you know when and how to cut them without wrecking the plant.
Picture this: you’ve waited 60 days for your 🥬 to mature, only to yank off the biggest leaves and watch the rest bolt or wilt. That’s a common mistake, but the fix is simpler than you think.
Timing matters more than you’d expect. Kale tastes sweeter after a light frost, but cutting too early or too late can turn your harvest into bitter scraps. The secret? Picking outer leaves first, leaving the center to regrow—and knowing exactly when to stop.
In this guide, I’ll walk you through the best times to harvest, the sharpest tools to use, and how to store your bounty so it stays fresh for weeks. No more wasted effort—just a steady supply of homegrown greens.

Best times and methods to harvest kale for optimal flavor
Timing your kale harvest is everything—picking too early means bitter, underdeveloped leaves, while waiting too long risks bolting or tough stems. The best flavor comes when leaves are mature but still tender, usually 60-70 days after transplanting, depending on your variety.
I’ve found that spring and fall harvests yield the sweetest, most flavorful kale because cooler temperatures prevent bitterness. In my zone 6a, I start harvesting in early May and continue through October, with a bonus late-winter crop if I protect plants with row covers.
Kale thrives in cool-season conditions, so avoid harvesting during heatwaves (above 85°F/29°Cmild days with 50-70°F (10-21°C) temperatures—ideal for peak sweetness. I’ve learned the hard way that overly hot days can turn my once-tender kale into a chewy, bitter mess.
Pay attention to your local daylight hours too: kale grows best with 12-16 hours of daylight, which means spring and fall are prime harvesting windows.
Before you grab your shears, check these 3 key maturity signs to ensure you’re harvesting at the perfect moment: dark green, glossy leaves (not pale or yellow), thick, pencil-sized stems (not skinny or woody), and leaves at least 6-8 inches long.
I always test a leaf by gently tugging—if it resists and feels crisp, it’s ready. Skipping this step can mean sacrificing flavor for over-mature leaves that are tough and stringy.
Did you know that daylight length directly impacts kale’s flavor? Longer daylight hours in summer can make kale grow faster but less sweet, while shorter days in fall slow growth and boost sugar content.
I’ve noticed that my October harvests taste richer than my July ones, even though the plants are older. This is why I focus on fall planting—it gives me the best-tasting kale before the first frost.
One of my biggest mistakes was harvesting kale too aggressively in the heat of summer. When temperatures soar above 85°F (29°C), kale can develop a bitter, almost peppery taste. To avoid this, I now pause harvesting during heatwaves and resume when temps drop below 80°F (27°C).
If you must harvest in hot weather, pick leaves in the early morning when they’re coolest and most tender.
For optimal regrowth, always leave at least half the plant intact after harvesting. I’ve seen kale plants bounce back surprisingly well, especially if you fertilize lightly with a balanced 10-10-10 mix after each harvest. Remove any yellow or damaged leaves immediately—they can harbor
Step-by-step guide to harvesting kale without damaging the plant
Harvesting kale correctly ensures a continuous supply of fresh leaves while keeping your plants healthy. The key is to use the right cutting techniques and tools to avoid stressing the plant. Unlike many vegetables, kale can regrow after proper harvesting, giving you multiple harvests per season if done right.
Before you begin, gather your harvesting tools. A sharp pair of pruning shears or clean kitchen scissors works best for clean cuts. Avoid using your fingers to pull leaves—this can damage the plant and leave it vulnerable to pests.
Always disinfect your tools with rubbing alcohol to prevent spreading diseases between plants.
How to Harvest Kale Properly
-
Step 1: Choose the Right Leaves
Select the outer leaves first—they’re fully mature and won’t stunt the plant’s growth. Look for leaves that are dark green, crisp, and at least 6-8 inches long.
-
Step 2: Use the Right Cutting Technique
Hold the leaf firmly and cut 1-2 inches above the base at a 45-degree angle. This allows water to run off and prevents rot. Never cut into the main stem or center leaves.
-
Step 3: Harvest in the Morning
Pick leaves early in the day when they’re cool and crisp. This preserves flavor and texture. Avoid harvesting after rain or in extreme heat, as leaves can become limp or bitter.
-
Step 4: Leave the Center Intact
Never harvest more than 1/3 of the plant at once. The inner leaves should remain to keep the plant growing. This method encourages regrowth for future harvests.
-
Step 5: Fertilize After Harvesting
After harvesting, add a light dose of fertilizer (like compost tea) to replenish nutrients. This helps the plant recover faster and produces healthier regrowth.
One common mistake is harvesting too aggressively, which can stress the plant and reduce future yields. Always leave at least half the leaves intact to maintain photosynthesis. If you notice yellowing or wilting after harvesting, your plant may need more water or nutrients.
For fall harvests, kale often tastes sweeter after a light frost. Just be sure to harvest before temperatures drop below 20°F (-7°C), as this can damage the plant. In warmer months, shade cloth can help prevent bolting (flowering), which ruins the flavor and texture.
With the right technique, you can enjoy fresh kale for months from a single plant. Store harvested leaves in the fridge for up to 5-7 days or freeze them for longer storage. Happy harvesting!