
How To
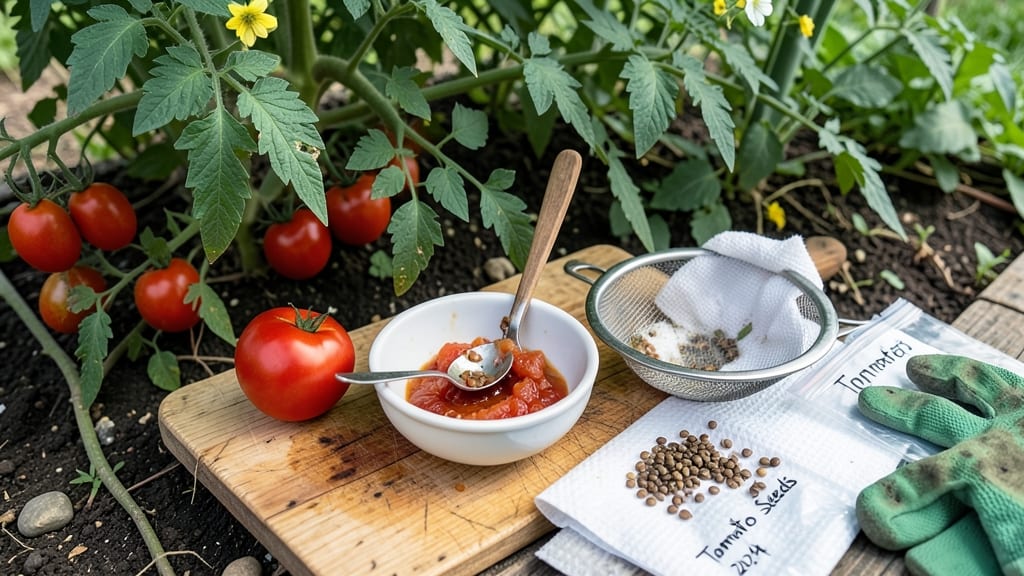
Harvesting tomato seeds for next year from your favorite 🍅 varieties is easier than you think—and it saves you money while preserving rare flavors you can’t find in stores.
Picture this: you’ve spent months nurturing your heirloom tomatoes, and now you want to keep those same seeds for next season. But one wrong move—like skipping the fermentation step or drying them too fast—can turn your hard work into moldy scraps.
I’ve made that mistake (twice), and I’m here to show you the three-step trick that guarantees viable seeds every time.
Whether you’re a beginner or a seasoned gardener, this method works for any tomato type, from cherry to beefsteak. You’ll learn how to ferment seeds to remove gelatinous coatings, dry them properly to avoid mold, and store them so they stay fresh for years.
No fancy tools required—just patience and a little know-how.
By the end, you’ll have a stash of seeds ready for next spring, plus tips to troubleshoot common pitfalls. Let’s turn this year’s harvest into next year’s garden.


3-Step tomato seed harvesting process: from fruit to dried seeds
Harvesting tomato seeds is one of the most rewarding parts of growing your own plants. The process transforms a ripe heirloom tomato into viable seeds ready for next year's garden. But timing and technique matter—overripe fruit or improper drying can ruin your seeds before they even sprout.
Let's break it down into three simple steps that ensure high germination rates and healthy seedlings.
First, you'll need to select the perfect tomatoes for seed saving. Choose fully ripened fruits that are deep in color and slightly soft to the touch. Avoid tomatoes that show signs of disease or damage, as these can carry pathogens that may harm your seeds.
Once you've picked your tomatoes, the real work begins with extracting the seeds and preparing them for fermentation.
-
1Step 1: Extract Seeds from Ripe Tomatoes
Cut open fully ripe tomatoes and scoop out the gel-like seed mixture into a glass jar or bowl. Add filtered water to cover the seeds completely. Let the mixture sit for 2-3 days at room temperature.
-
2Step 2: Ferment the Seeds (Critical for Viability)
Stir the mixture once daily to prevent mold. The fermentation process (2-4 days) removes the gelatinous coating that inhibits germination. You'll know it's ready when the seeds sink to the bottom and the liquid smells yeasty (not rotten).
-
3Step 3: Dry and Store the Seeds Properly
Pour the mixture through a fine-mesh strainer or cheesecloth to separate seeds from pulp. Rinse seeds with clean water, then spread them on a paper towel or seed drying screen. Let them dry in a cool, dark place for 1-2 weeks until completely dry and brittle.
Fermentation is the secret to high germination rates. This process breaks down the gelatinous coating around the seeds, which contains germination inhibitors. Without fermentation, your seeds may not sprout properly.
The yeast and bacteria in the mixture also help clean the seeds, reducing the risk of mold or disease during storage.
Once your seeds are dry, store them in a paper envelope or airtight container with a silica gel packet to absorb moisture. Label each envelope with the tomato variety and harvest year to keep your seed collection organized.
Properly stored seeds can remain viable for 3-5 years, though germination rates may drop over time.
Common mistakes to avoid include skipping fermentation, which can lead to poor germination, or drying seeds too quickly, which may cause them to crack. Also, never store seeds in the refrigerator until they're completely dry, as moisture can encourage mold growth.
With these steps, you'll have a reliable supply of seeds for next year's garden.
For hybrid tomatoes, seed saving may not produce true-to-type plants, but heirloom varieties will maintain their unique flavors and traits. This method ensures you can preserve rare varieties and experiment with new crosses in your garden each year.
Now that you've mastered the basics, you're ready to expand your seed collection and grow your favorite tomatoes year after year. Happy seed saving!
Best drying methods for tomato seeds: paper towel vs. screen vs. air-dry rack
Once you’ve extracted and fermented your tomato seeds, the next critical step is drying them properly. Improper drying leads to mold, rot, or poor germination rates—so choosing the right method matters.
Humidity, airflow, and drying time all play key roles in ensuring your heirloom tomato seeds stay viable for next year’s planting.
The three most effective methods—paper towel drying, screen drying, and air-dry rack drying—each have unique pros and cons. Your climate, seed volume, and available space will help determine which method works best for you.
Let’s break down how each method compares so you can pick the one that fits your setup.
| Method | Drying Time | Humidity Control | Best For | Mold Risk |
|---|---|---|---|---|
| Paper Towel | 3-5 days | Moderate (requires indoor space) | Small batches, humid climates | Low (if monitored) |
| Screen Drying | 5-7 days | High (outdoor airflow) | Large batches, dry climates | Moderate (depends on weather) |
| Air-Dry Rack | 7-10 days | Excellent (controlled airflow) | All climates, large quantities | Low (minimal moisture exposure) |
Paper towel drying is ideal for small batches, especially if you live in a humid climate. Simply spread the seeds on a clean paper towel in a single layer, cover with another towel, and place them in a warm, dry spot. Check daily to ensure no moisture remains—excess humidity can cause mold within 24 hours. This method works fast but requires frequent monitoring.
For larger harvests, screen drying is a gardener’s favorite. Use a fine-mesh screen or window screen to create a drying tray. Spread seeds evenly and place the screen in a shaded, well-ventilated area.
The outdoor airflow speeds up drying, but watch for rain or high humidity. This method is best for dry climates where seeds can dry without risking mold.
If you want the most controlled drying environment, an air-dry rack is the gold standard. These racks elevate seeds off surfaces, allowing optimal airflow from all sides. Place the rack in a warm, dry spot—like a garage or basement—and let the seeds dry for 7-10 days.
This method minimizes mold risk and works year-round, making it perfect for humid or unpredictable climates.
No matter which method you choose, always store your dried seeds in a cool, dark place in an airtight container. Label them with the variety name and harvest year to keep your seed collection organized.
With the right drying technique, your tomato seeds will stay viable for up to 4 years!
🌱