
How To
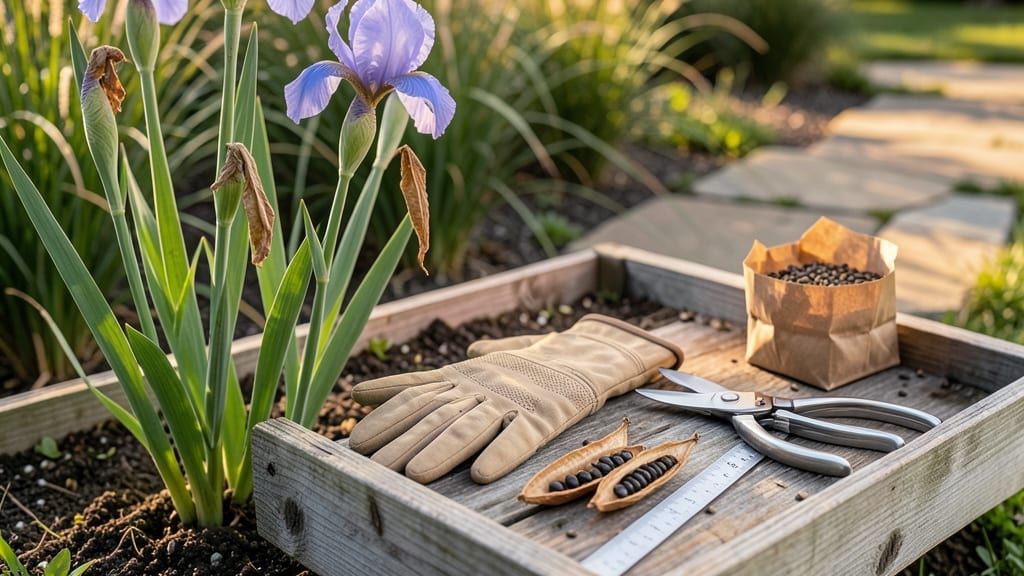
Harvesting iris seed pods at the right time ensures the best chance for viable seeds — and missing that window means wasted effort and fewer new plants.
If you’ve ever watched those brown, papery pods split open on the stalk only to find the seeds scattered by wind, you know how quickly the moment passes.
The key is catching them when they’re fully mature but still intact, usually between late summer and early fall, depending on your zone.
For most gardeners in Zone 6a, that means late August through September, when the pods turn from green to dry and begin to crack naturally. Siberian irises and bearded varieties follow the same cues, though timing can shift slightly based on your local climate.
Below, I’ll walk you through the exact visual signs to watch for, how to collect the pods without damaging the plant, and what to do with them once you’ve got them in hand for storage or planting.

How to identify the perfect harvest time for iris seed pods
Harvesting iris seed pods at the right moment ensures you collect viable seeds for next season's garden. Miss this window, and you risk low germination rates or wasted effort. The key lies in watching for visual and tactile cues that signal maturity.
Iris seed pods develop from fertilized flowers after blooming. Initially green and firm, they gradually change as seeds mature. Pay attention to color shifts, texture changes, and how easily seeds release from the pod—these are your best indicators.
Timing matters because seeds lose viability quickly once pods dry. Harvest too early, and seeds won't germinate; wait too long, and wind may scatter them before you collect them. Late summer to early fall (August–October) is typically ideal in USDA Zone 6a.
Start by checking pods for a color change from green to brown. This shift signals the seeds are drying out inside. Run your fingers gently over the pod—if it feels dry and papery rather than firm, it’s ready. A slight crack along the seam is another sign seeds are mature.
Look inside the pod for dark, dry seeds. If seeds appear moist or white, they’re not ready. Wait 1–2 weeks and recheck. Overripe pods may split open completely, scattering seeds before you can collect them.
For bearded irises, harvest pods when they’re fully brown but still intact. Siberian irises may require slightly earlier collection, as their pods dry faster. Always harvest on a dry, calm day to prevent seed loss.
Gently twist or cut pods at the base using clean pruners. Avoid damaging the plant’s foliage, which stores energy for next year’s blooms. Place harvested pods in a paper bag to dry further indoors.
Store pods in a cool, dry place for 1–2 weeks before processing seeds. This mimics natural drying conditions and improves germination rates. Never rush drying—patience ensures healthier seedlings.
Once pods are completely dry, open them carefully to release seeds. Discard any empty or shriveled seeds—only plump, dark seeds are viable. Plant or store these immediately for best results.
Step-by-step guide to harvesting iris seed pods without damaging plants
Harvesting iris seed pods at the right time ensures high-quality seeds while keeping your iris plants healthy. The key is patience—waiting until pods are fully mature prevents seed loss and maintains plant vitality.
I’ve learned that rushing the process can lead to low germination rates or even damage to the parent plant.
Gently collecting seed pods requires the right tools and techniques. Using sharp, clean pruners and a soft cloth helps avoid tearing the pods or spreading diseases. I always work on a dry, sunny day to minimize stress on the plant and ensure the seeds stay dry during harvest.
Timing is everything—harvest too early, and seeds won’t germinate; wait too long, and they’ll scatter. Here’s my foolproof method to collect iris seed pods without harming your plants:
- Wait for pods to turn brown—this usually happens in late summer (August-September). Green pods mean seeds aren’t ready.
- Check for slightly cracked seams. If pods are dry and beginning to split open naturally, it’s time to harvest.
- Gently twist or cut pods at the base using clean pruners. Avoid pulling—they’re fragile and can break off.
- Place harvested pods in a paper bag to dry for 1-2 weeks in a cool, dry place. This prevents mold and ensures seeds are fully mature.
- Avoid harvesting after frost. Cold weather can damage seeds and reduce their viability for next season.
One common mistake I see is harvesting pods that are still green or firm. These seeds won’t germinate well, and the energy spent producing them weakens the parent plant. Always prioritize fully mature pods—they’ll be dry, papery, and ready to split open on their own.
After harvesting, store seeds in an airtight container with silica gel packets to absorb moisture. Label the container with the harvest date and iris variety—this helps track germination rates later. I’ve found that Siberian irises produce seeds faster than bearded varieties, so timing adjustments may be needed.
Remember, harvesting seed pods is a low-maintenance way to propagate irises without digging up rhizomes. With patience and the right technique, you’ll enjoy a steady supply of new plants for years to come. Happy harvesting!