
How To
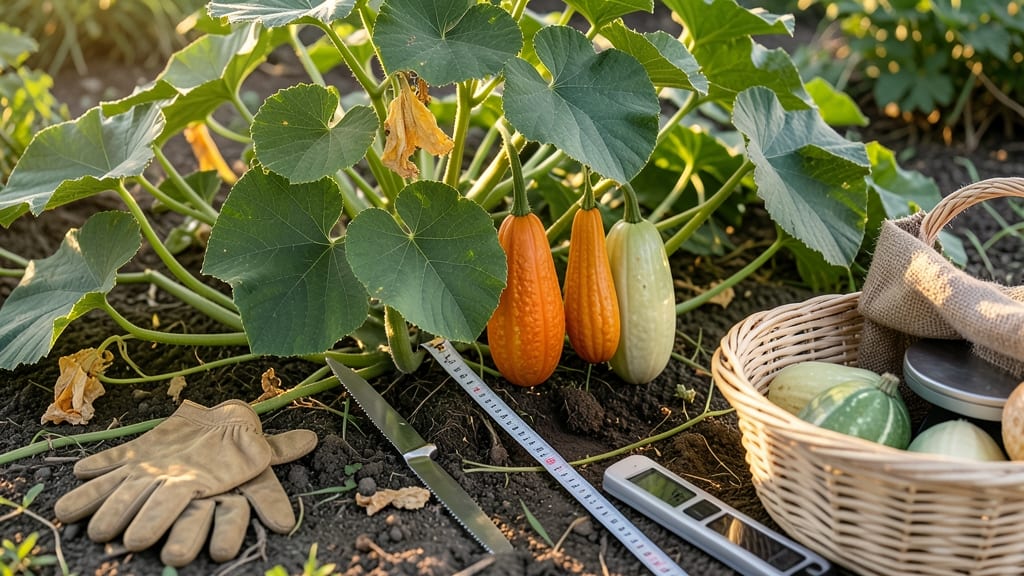
Harvesting gourds at the right time ensures you get the best flavor, texture, and storage life 🎃 — and missing that window can turn a delicious harvest into a tough, unusable mess.
If you’ve ever sliced into a gourd only to find it still too soft or bland, you know the frustration of poor timing. The difference between a perfect harvest and a disappointment often comes down to one simple test: the thumbprint trick.
Most gardeners wait for the color to deepen or the stem to dry out, but the real key is checking the rind’s hardness. A mature gourd’s skin should resist your fingernail like a hard-boiled egg, while immature ones dent easily—this is the most reliable way to avoid over- or under-harvesting.
In this guide, I’ll walk you through the exact signs to look for—from seed hardness to stem changes—and share pro tips for curing and storing your gourds so they last all winter. Whether you’re growing winter squash or summer varieties, you’ll never second-guess the timing again.

How to use the thumbprint test for perfect gourd harvest timing
Harvesting gourds at the right time ensures maximum flavor, texture, and storage potential. The thumbprint test is my go-to method because it’s simple, accurate, and works for nearly every gourd variety—from delicate summer squash to hard-shelled winter gourds.
Unlike guessing by color or size, this test checks the rind firmness, which directly correlates with ripeness.
Most gardeners make the mistake of harvesting too early, resulting in gourds that are soft, seedy, or prone to rot. Others wait too long, risking cracked shells or pest damage.
The thumbprint test eliminates these guesses by giving you a tactile confirmation of readiness. I’ve used this method for years, and it’s saved me from countless wasted harvests.
Step-by-Step Thumbprint Test
- 1 Choose a mature gourd: Select one that’s reached its expected size for the variety (e.g., 3-6 inches for zucchini, 10+ inches for pumpkins). Avoid gourds with soft spots or blemishes.
- 2 Press firmly with your thumb: Use your thumb or fingernail to press into the rind. Apply enough pressure to leave a slight indentation—about 1/8-inch deep. For delicate gourds like summer squash, use light pressure.
- 3 Check for bounce-back: If the indentation springs back immediately (like pressing a ripe avocado), the gourd isn’t ready. If it holds the shape or leaves a faint mark, it’s nearing ripeness. For hard-shelled gourds, the rind should not dent at all.
- 4 Verify with color and weight: A ripe gourd will have full, consistent color (no green patches) and feel heavy for its size. Tap it—if it sounds hollow, it’s ready. For winter gourds, the stem should also be dry and shriveled.
- 5 Harvest at the right time: Use a sharp knife or pruners to cut the gourd, leaving a 1-inch stem. Harvest in the morning when temperatures are cool to preserve freshness. Avoid harvesting after rain to prevent rot.
Why does this test work? The rind’s firmness is directly tied to the gourd’s seed development and starch content. When seeds are fully mature, the rind thickens and hardens, making it resistant to your thumb’s pressure.
For example, a butternut squash should feel rock-hard when ripe, while a zucchini will still yield slightly but hold a faint mark.
Timing is critical because gourds continue to ripen off the vine. If you harvest too early, they’ll never reach their full flavor or storage potential. Conversely, leaving them too long can lead to overripe gourds that crack or attract pests.
Pro tip: Test 2-3 gourds per plant to account for variation in ripening.
For edible gourds like zucchini or pattypan, harvest when the rind is still slightly tender but the seeds are plump and white. For ornamental or winter gourds, wait until the rind is completely hard and the stem is dry. This ensures they’ll last through the winter without spoiling.
One common mistake I see is relying solely on color changes. Some gourds, like spaghetti squash, may turn orange but still be underripe inside.
The thumbprint test accounts for these internal ripeness factors that color alone can’t reveal. Always combine this method with visual cues for the most accurate results.
If you’re growing gourds in a hot climate, they may ripen faster, so check them every 3-4 days once they near maturity. In cooler regions, give them extra time—some varieties need up to 120 days to fully ripen. Adjust your testing schedule accordingly to avoid missing the window.
Once you master the thumbprint test, you’ll never second-guess your gourd harvest again. It’s a skill that takes seconds to perform but saves hours of frustration in the long run. Plus, perfectly ripe gourds taste sweeter, store longer, and make stunning decorations—what’s not to love?
Seed hardness and other signs your gourds are ready to pick
Beyond the thumbprint test, gourds reveal multiple subtle clues that they’re harvest-ready. One of the most overlooked signs is seed hardness—when you gently press near the stem, the seeds inside should feel firm, almost like small marbles.
If they’re still soft or mushy, your gourd needs more time on the vine. This internal readiness often aligns with the rind’s exterior changes.
Another key indicator is the stem drying—look for a papery, shriveled stem base where it attaches to the gourd. This signals the plant has stopped nourishing the fruit, and nutrients have fully transferred inside.
Don’t wait until the stem falls off naturally; by then, you’ve missed the optimal harvest window. For winter squash varieties like butternut or acorn, this drying process happens 2-4 weeks before the stem detaches entirely.
| Sign | What to Look For | Action |
|---|---|---|
| Seed Hardness | Press near stem—seeds feel firm like marbles | Harvest if firm; wait if soft |
| Rind Thickness | Cannot puncture with fingernail (1/8" or thicker) | Ready to pick |
| Stem Condition | Dry, papery, and shriveled at base | Harvest within 2-4 days |
| Color Development | Uniform, deep color (no green patches) | Check for hardness first |
| Weight | Feels heavy for its size | Indicates full maturity |
Don’t rely solely on color changes—some gourds like winter squash develop their final hue weeks before they’re truly ready. Instead, focus on the rind thickness: a mature gourd’s skin should be 1/8" or thicker and impossible to pierce with your fingernail.
For example, a butternut squash might look golden but still have a soft spot near the stem—always double-check with the thumbprint test.
One common mistake is harvesting too late, which leads to over-mature gourds that develop a woody texture or split open. If you notice cracks or a hollow sound when tapped, it’s a clear sign you’ve waited too long.
Summer squash varieties like zucchini are more forgiving, but even they lose flavor if left on the vine past their prime. For long-term storage, prioritize gourds that pass all three tests: hard seeds, dry stems, and thick rinds.
Avoid harvesting in rain or humidity, as moisture can accelerate rot during curing. Instead, pick on a dry, sunny morning when gourds have had time to dry slightly on the vine.
Use a clean, sharp knife to cut the stem, leaving a 1-2 inch stub to prevent entry points for pests. After harvest, let them cure in a warm, dry spot for 7-10 days before storing—this hardens the skin and extends shelf life.
For ornamental gourds, timing matters too! Wait until the entire vine has died back (usually after frost) to ensure maximum durability. If you’re unsure, err on the side of harvesting slightly early—gourds continue maturing off the vine, while overripe ones spoil faster.
With these signs in mind, you’ll never guess again and can enjoy perfectly timed gourds every season.